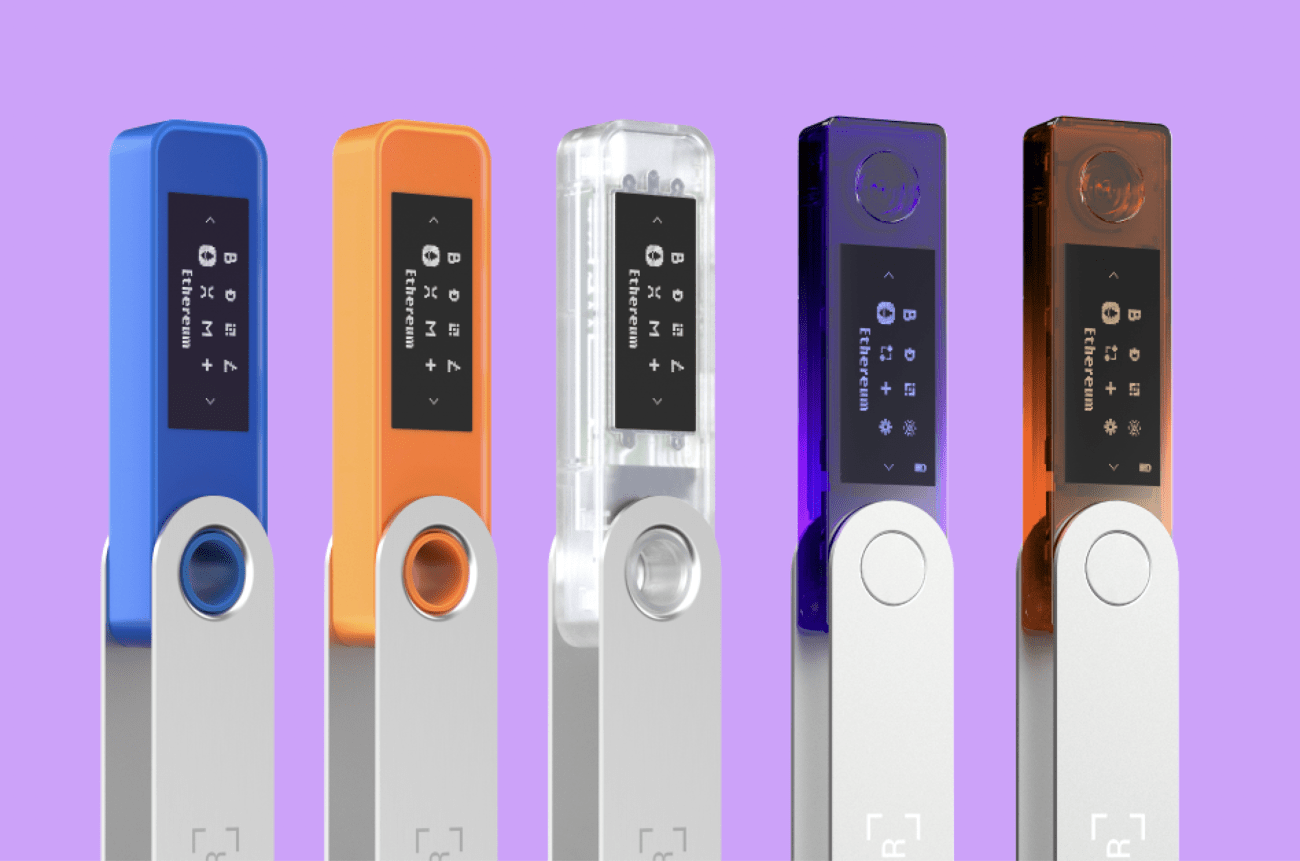
Ledger released a new hardware wallet – the Ledger Nano X. This new device protects your cryptocurrencies with military-grade protection and prevents digital theft and hackers. These are the key new features of the Ledger Nano X:
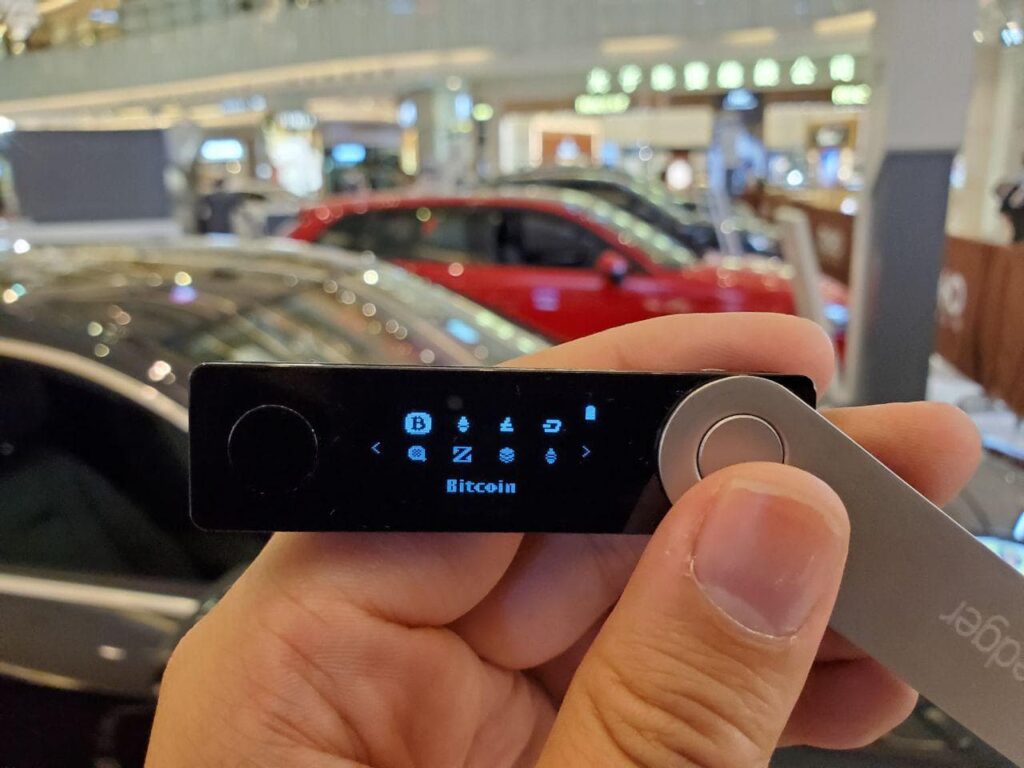
- Large HD screen – Displays address of receiver in full without scrolling
- Mobile support – (Android and iOS) support via Ledger Live Mobile
- More storage space – Install up to 100 different apps for different coins.
- Rechargable Battery – allows the device to be powered-on without a cable.
- Ledger Recover – A new (albeit controversial) seed phrase recovery subscription service. Learn more here.
Click below to buy!

This guide will help you setup your Ledger Nano X and teach you the important features. In addition, we the most important question: Is Bluetooth Safe?
Ledger Live Mobile
Ledger Live Mobile remains the go-to companion app for managing crypto securely on the move. Available for iOS and Android, it pairs seamlessly with Ledger Nano X, Ledger Stax, and Nano S Plus (via OTG cable for Android).
Mobile Connectivity
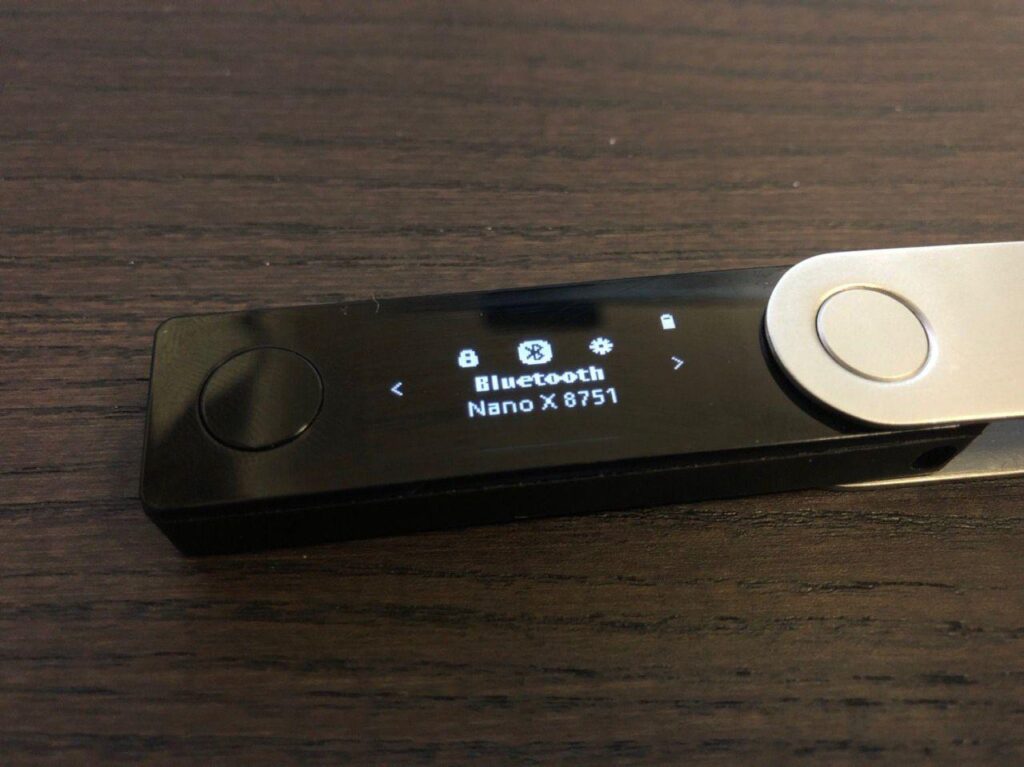
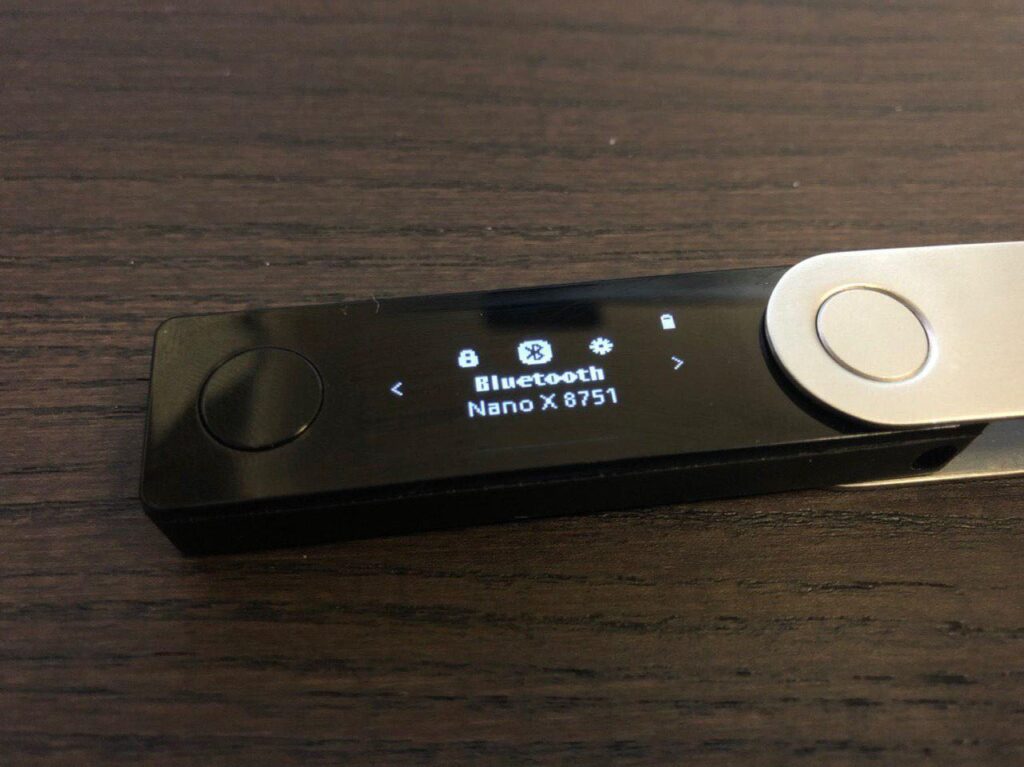
- Bluetooth Support: Nano X connects wirelessly to smartphones via Bluetooth—no cables required.
- Battery Life: Equipped with a 100mAh battery, it lasts several hours of active use or up to 3 months in standby mode.
Portfolio & Transactions
- Portfolio Mode: View your crypto balances and performance even when the Nano X is not connected.
- Secure Transactions: To send crypto, the Nano X must be present to sign transactions. Private keys never leave the device—only the signed transaction is transmitted.
App Management
- Ledger Manager Integration: Install and manage crypto apps directly from the mobile app, similar to the desktop version2.
- Firmware Updates: As of OS version 2.4.1, firmware updates are now supported via Bluetooth on Ledger Live Mobile—a major upgrade from earlier limitations.Buy, Swap & Stake
- Buy Crypto: Purchase assets using third-party partners like MoonPay, Ramp, and PayPal.
- Swap Crypto: Exchange assets directly in-app using services like ParaSwap and Changelly.
- Stake Assets: Stake ETH, DOT, ATOM, and more—track rewards in the “Earn” section.“
NFT Management
- NFT Viewer: View, send, and receive Ethereum and Polygon NFTs with full metadata support.
Security Managment
- Secure Element Chip: CC EAL5+ certified for hardware-level protection.
- End-to-End Encryption: Bluetooth communication is encrypted and requires physical confirmation on the device.
- Biometric Unlock: Optional Face ID or fingerprint unlock for added app security.
Web3 & DeFi Access
- WalletConnect Integration: Connect to dApps like Uniswap, Aave, and OpenSea directly from your phone.
How to Add or Remove Apps on the Ledger Nano X
Managing crypto apps on your Ledger Nano X is simple and secure using the Ledger Live app—available on Windows, macOS, Linux, Android, and iOS.
How to Install Apps
- Open Ledger Live and navigate to My Ledger.
- Connect and unlock your Nano X using your PIN.
- Authorize Ledger Manager by confirming “Allow Ledger Manager” on your device.
- Browse the App Catalog and click Install next to the desired cryptocurrency app.
- You can install multiple apps at once.
- If your list appears limited, update your device firmware first. As of July 2025, the latest version of Ledger Live is Desktop 2.120.1 and Mobile (iOS/Andriod): 3.86
Note that some apps (like Arbitrum or Optimism) require the Ethereum app to be installed first due to EVM dependencies.
How to Uninstall Apps
- In My Ledger, locate the installed apps list.
- Click the Trash icon next to any app to uninstall it.
- You can remove multiple apps at once—confirm on your device to proceed.
Note that uninstalling apps does not affect your crypto assets. Your private keys remain securely stored on the device and backed up via your recovery phrase.
How to Update Apps
- If updates are available, a notification bar will appear in My Ledger.
- Click Update All to refresh your apps in one go.
App Storage Tips
- The number of installable apps depends on:
- Your device model (Nano X supports ~100 apps)
- App sizes (some are larger than others)
- Uninstall unused apps to free up space—your assets stay safe.
Is Bluetooth Safe?
Yes—Bluetooth is safe to use with the Ledger Nano X. Ledger has designed its Bluetooth functionality with security as a top priority, and the device’s architecture ensures that your private keys remain protected at all times. The previous model (Ledger Nano S) only had cable connectivity, which would not expose the device to nearby attackers. Bluetooth is safe to use in this case because the device is never controlled via Bluetooth – instead it is only used to send unsigned and signed transactions. This means the private key (the key to all the funds
Security Architecture
- Private keys never leave the Secure Element chip, even during Bluetooth communication.
- Bluetooth Low Energy (BLE) 5.0 is used solely as a transport layer for signed or unsigned transactions.
- The Nano X assumes the BLE connection is compromised by default—no sensitive data is ever exposed.
End-to-End Encryption
- All Bluetooth communication is end-to-end encrypted, protecting user privacy and preventing interception.
- Even if BLE were compromised, attackers cannot extract private keys or force unauthorized transactions.
Physical Confirmation Required
- Every transaction must be physically verified and approved on the device using its buttons.
- The display and buttons are directly wired to the Secure Element, ensuring tamper-proof interaction.
Manual Control
- Users can disable Bluetooth anytime via the Control Center by pressing both buttons.
- When disabled, the Nano X functions via USB-C with Ledger Live desktop.
The Nano X operates with the assumption that the Bluetooth connection (which is a bearer, exactly like USB) is compromised. The addition of BLE doesn’t impact the security model. Transactions must always be physically verified on device by pressing both buttons. Moreover, on the Nano X screens and buttons are directly connected to the Secure Element (single chip architecture), which is also an enhancement of the general security design. (Valium)
Nicolas Bacca, CTO at Ledger
Keep your Recovery Phrase Safe!
Your 24-word recovery phrase is the master key to your crypto assets. It’s generated during device setup and stored only on paper—never digitally. If someone gains access to it, they can control your funds. If you lose it, recovery is impossible.
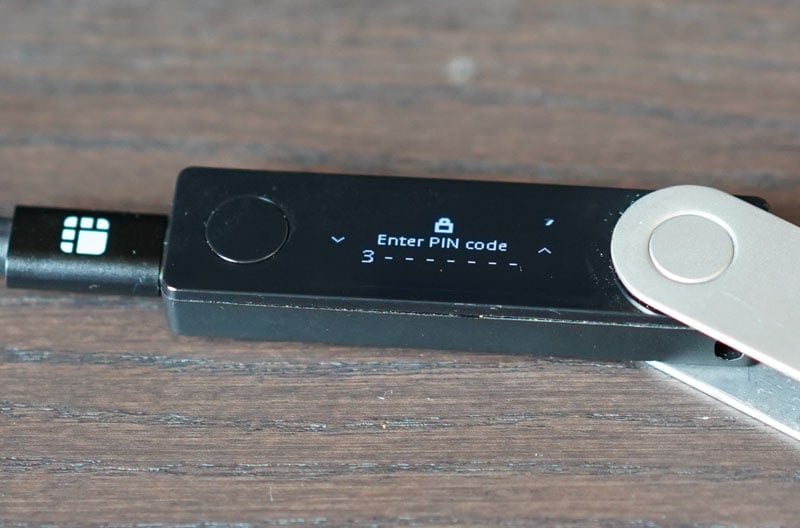
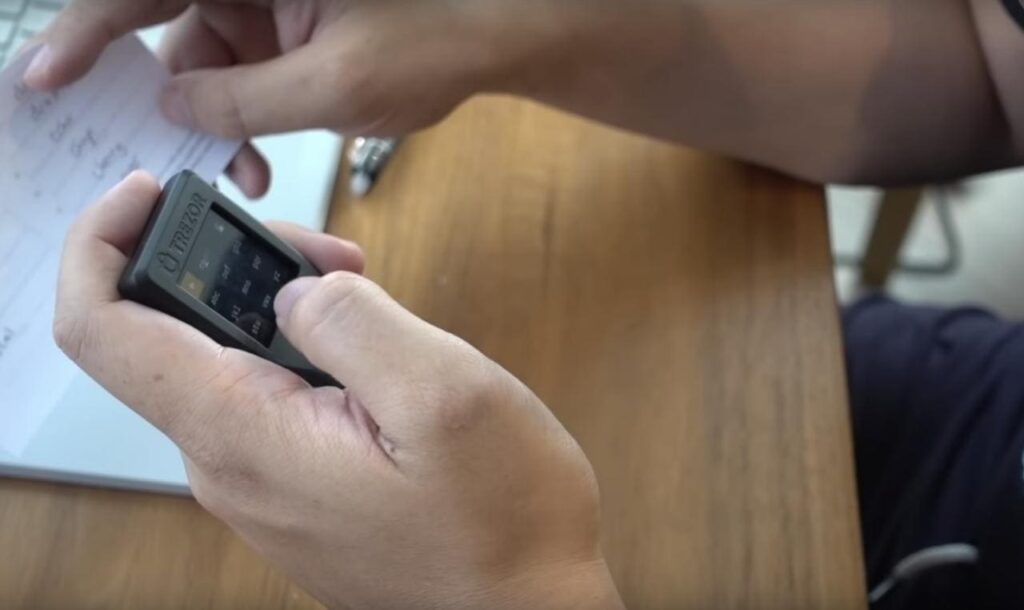
- Choose a 4 to 8-digit PIN code and confirm.
- Write down your 24-word recovery phrase. The order of the words is also important.
- After setting up the device, with it still plugged in, visit the Ledger Live website and download the app you want to use.
- Follow the instructions on the site and use.
Note: after setting it up you will be navigating the device on your computer.
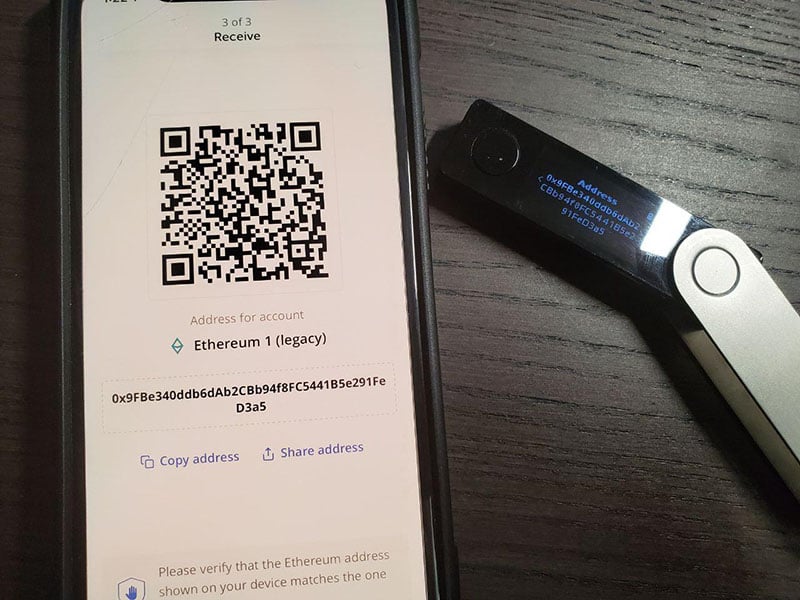
You can receive cryptocurrency even when the device is offline. It’s only when you want to send that you need to connect the device and enter your PIN and login.
After inputting all the transaction details on your computer, as an additional security measure, you can double check the details on the device. Make sure the address and amount are correct and confirm.
Best Practices for Storage
- Write it down on the provided Recovery Sheet during setup.
- Store it offline in a secure, private location—avoid cloud storage, photos, or digital backups.
- Use fireproof and waterproof storage like metal seed plates for long-term protection.
- Never share it with anyone, including Ledger support. Ledger will never ask for it.
What Not to Do
- Don’t take a photo or screenshot of your recovery phrase.
- Don’t enter it on any website, app, or computer.
- Don’t store it in email, cloud drives, or password managers.
Recovery & Restoration
- You can restore your Ledger Nano X, Nano S Plus, or Stax using your recovery phrase at any time.
- Recovery is done entirely on the device—never on your phone or computer.
- Ledger supports BIP39/BIP44 standard phrases, so you can restore wallets from other compatible devices too.
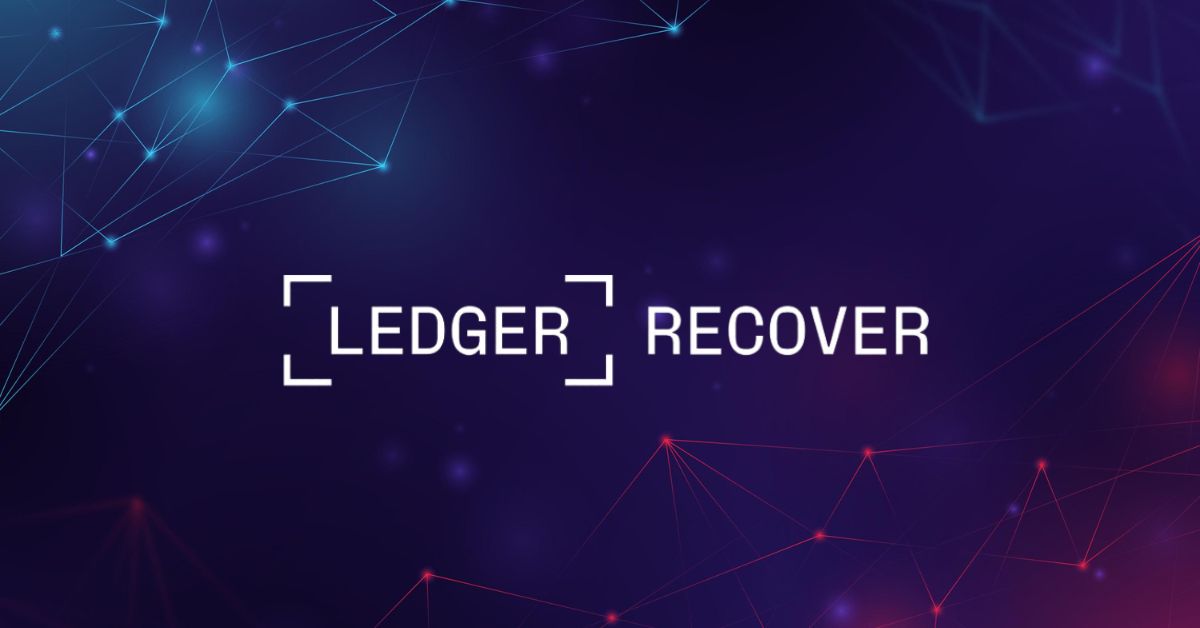
Ledger Recover (Optional)
- Ledger offers an optional subscription service called Ledger Recover, which encrypts and splits your recovery phrase into secure fragments stored by trusted custodians.
- This service is opt-in only and not enabled by default. Learn more on Ledger’s official Recover page.
If your recovery phrase is lost or compromised, Ledger cannot help you recover your assets. There is no backup stored by Ledger.
Why use a Hardware Wallet?
Here are some reasons why you could consider using a hardware wallet to store your cryptocurrencies:
- Keeps Your Crypto Safe: Hardware wallets store your private keys offline. This protects them from hackers, viruses, and phishing attacks—even if your computer or phone is infected.
- You’re in Control: If you use exchanges or online wallets, you are trusting someone else with your crypto. Hardware wallets let you hold your assets. No one else has access.
- Physical Security: Transactions must be confirmed on the device, so no one can steal your crypto without having the wallet in hand.
- Easy Recovery: If your device breaks or gets lost, you can recover everything with your secret recovery phrase. But make sure not to share or store it digitally.
- Supports More Than Just Coins: These wallets work with Bitcoin, Ethereum, NFTs, DeFi apps, and digital IDs. They are a must-have tool for Web3.
Is the Ledger Nano X Worth the Upgrade?
The answer depends on what you need. If you want to manage your crypto on your phone or use Bluetooth, the Ledger Nano X is worth it.
The Nano X has more memory than the older Nano S model, which was retired. It can hold up to 100 apps for different cryptocurrencies. This is helpful if you use more than three types of crypto. The Nano S Plus also holds up to 100 apps, but it costs less. However, the Nano X has Bluetooth and a built-in battery, which the Nano S Plus does not.
With Bluetooth, you can connect the Nano X to your phone without using cables. The battery lasts for several hours of use or about three months in standby mode. This makes it easier to use the wallet on the go.
The Nano X works with iPhones and Android phones through the Ledger Live Mobile app. You can view your crypto portfolio anytime, but you need the device with you to send crypto. Your private keys never leave the device, so your funds stay safe.
The Nano X uses a secure chip to protect your information. It works with over 5,500 cryptocurrencies, NFTs, and Web3 apps. It also connects to wallets like MetaMask and Phantom.
One thing to think about is the battery. Some users say it becomes weaker over time. Also, Ledger offers a service called Ledger Recover that helps you recover your wallet if you lose your recovery phrase. Some people are worried about privacy when using that service.
If you want Bluetooth, mobile access, and more storage, the Nano X is a good option. But if you mostly use your desktop and want to save money, the Nano S Plus might work better for you.
Successfully set up your Ledger Nano X? Now it’s time to get started with trading Bitcoin and other cryptocurrencies! Check out my course created in collaboration with Jeff Kirdeikis of Uptrennd- Bitcademy: Learn, Invest & Trade Bitcoin – In Under an Hour