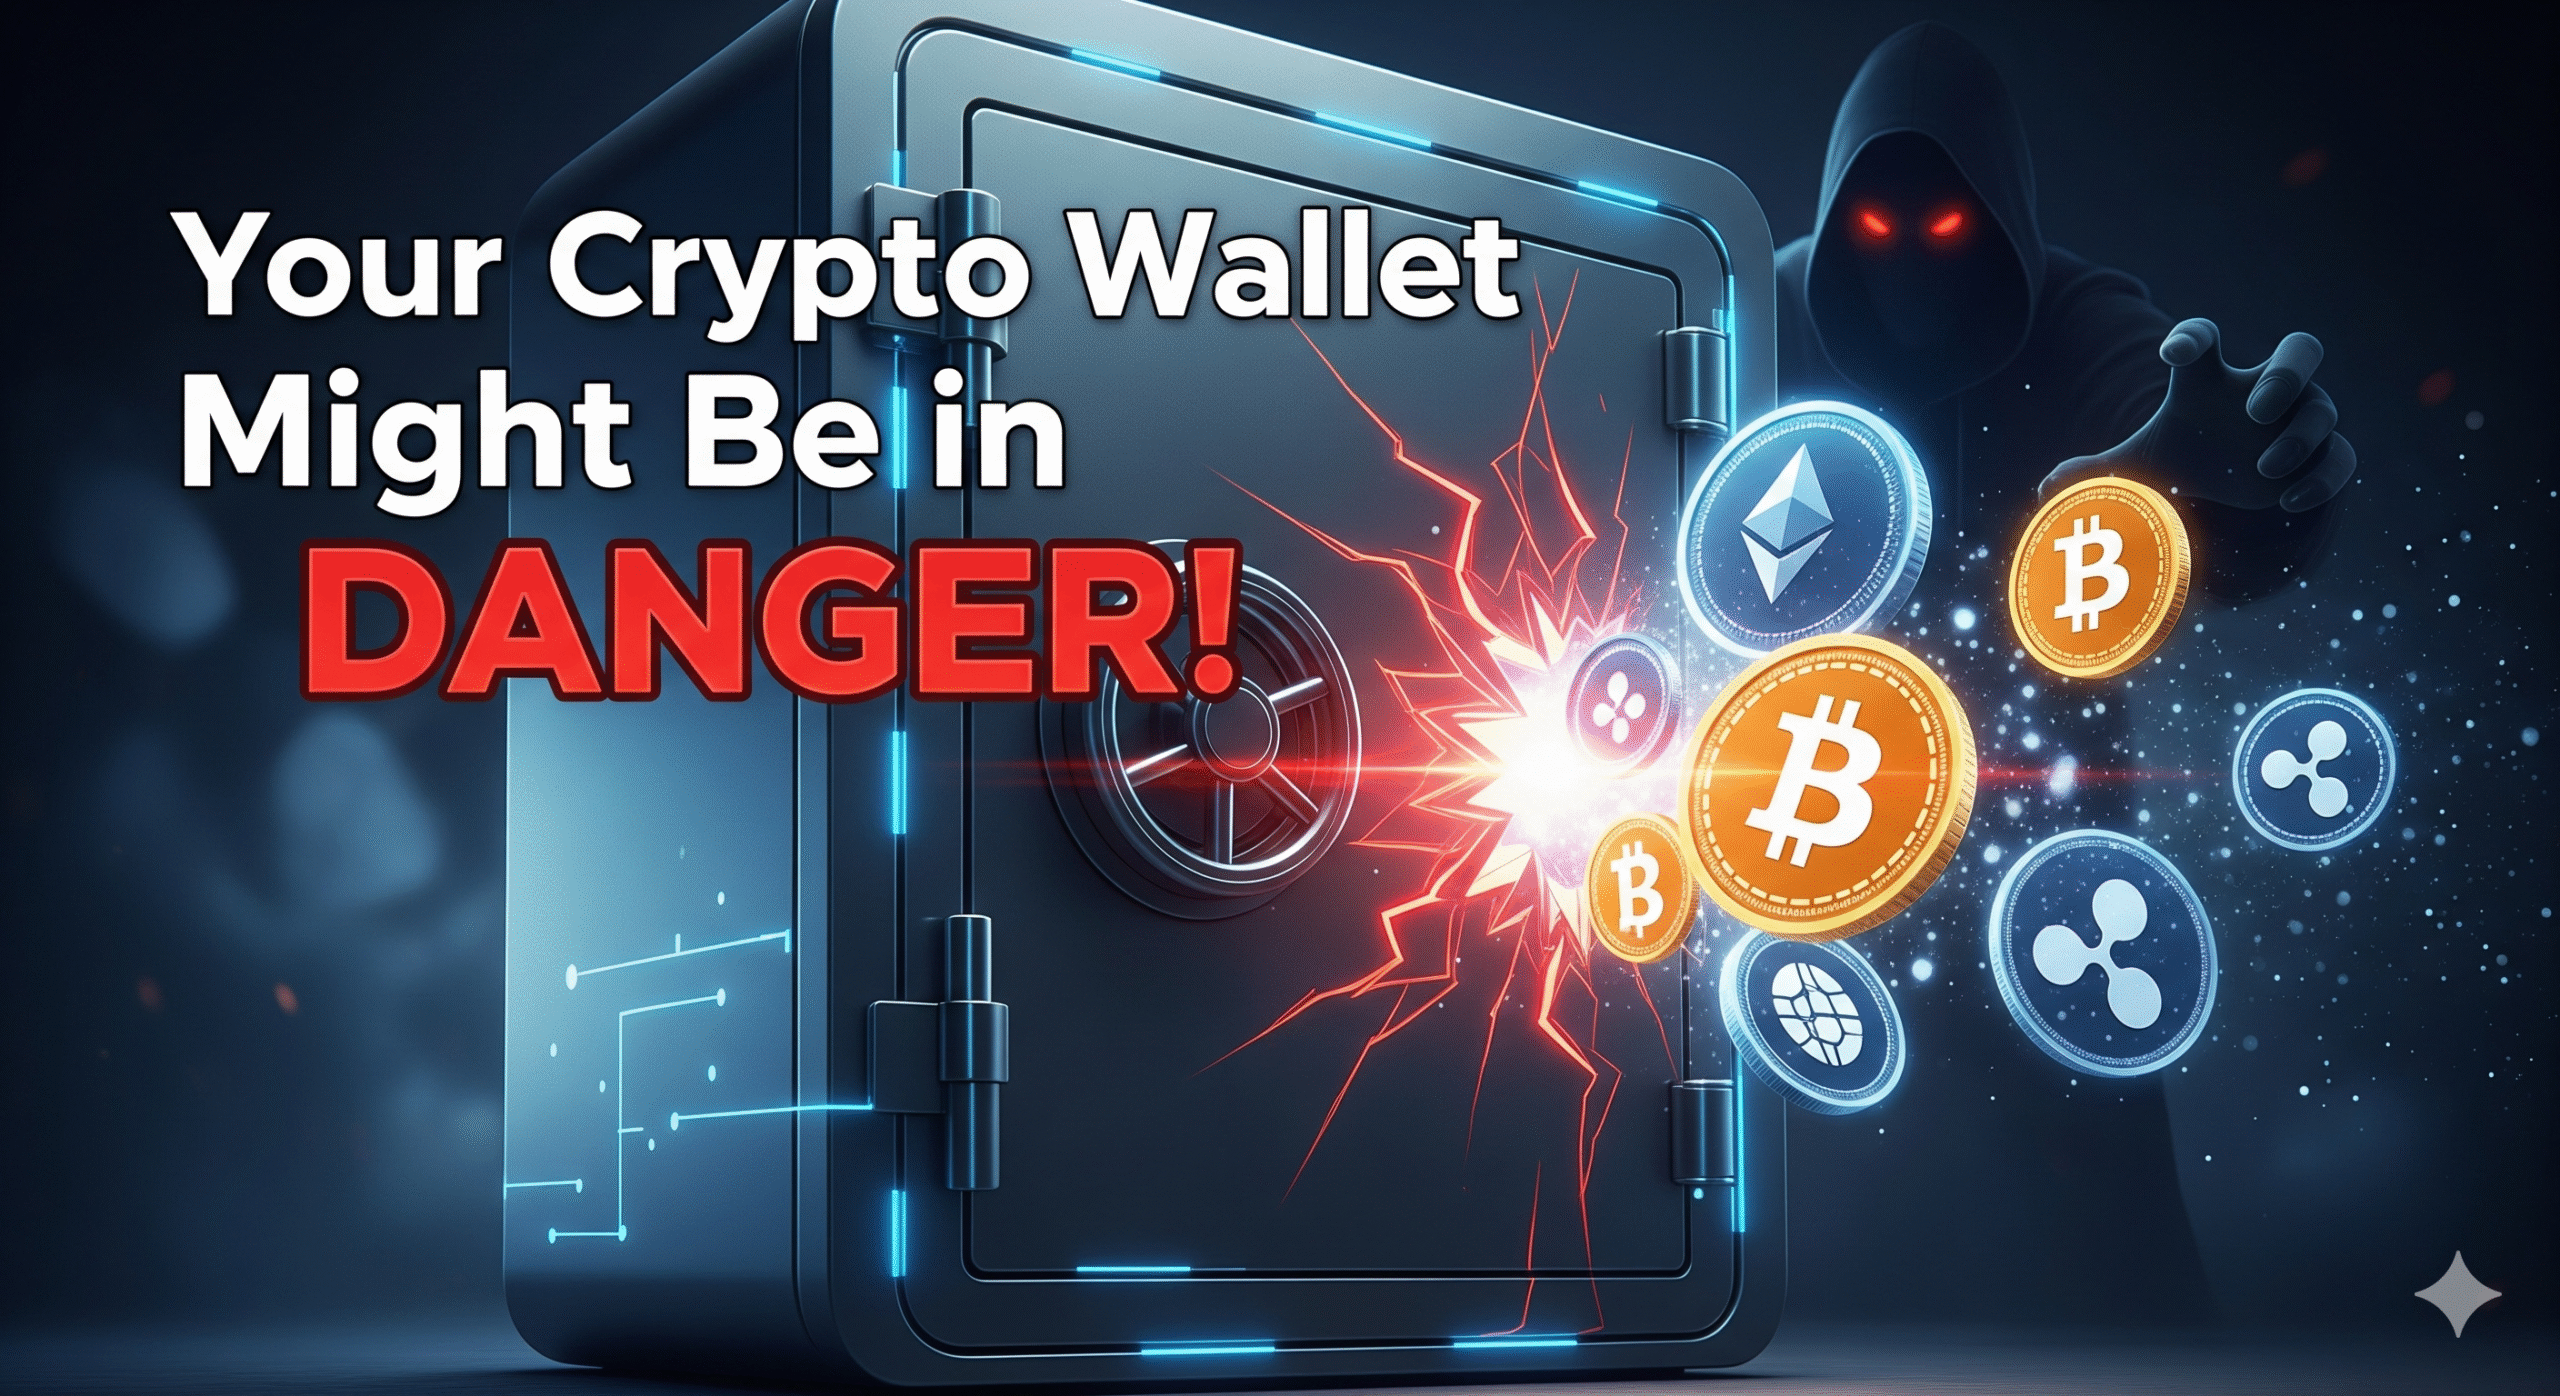
What Just Happened?
On September 8, 2025, cybercriminals pulled off one of the most sophisticated crypto attacks in recent history. They didn’t target individual wallets or exchanges – instead, they compromised the very foundation that powers most websites and apps you use every day.
The Simple Version: Hackers broke into popular JavaScript code libraries that are used by millions of websites and apps. These libraries are like building blocks – think of them as the digital equivalent of standard parts used in car manufacturing. When these “parts” got infected with malicious code, every website or app using them became potentially dangerous for crypto users.
How Big Was This Attack?
The numbers are staggering. The compromised code packages had been downloaded over 2.6 billion times and were used by countless websites, apps, and crypto platforms.
Charles Guillemet, CTO of Ledger (the hardware wallet company), was among the first to sound the alarm: “There’s a large-scale supply chain attack in progress: the NPM account of a reputable developer has been compromised. The affected packages have already been downloaded over 1 billion times, meaning the entire JavaScript ecosystem may be at risk.”
What the Malware Actually Did
The malicious code was designed specifically to steal cryptocurrency. Here’s how it worked in everyday terms:
Address Swapping: When you copy a crypto wallet address to send money, the malware would secretly replace it with the attacker’s address. Imagine writing a check to your friend, but the malware changes the “Pay to” line to the criminal’s name instead.
Multi-Chain Targeting: The attack wasn’t limited to just Bitcoin or Ethereum – it targeted all major cryptocurrencies including:
- Bitcoin (BTC)
- Ethereum (ETH)
- Solana (SOL)
- Tron (TRX)
- Litecoin (LTC)
- Bitcoin Cash (BCH)
DeFi Protocol Manipulation: For users of decentralized finance (DeFi) platforms like Uniswap or PancakeSwap, the malware could redirect transactions to the attacker’s wallet instead of the intended recipient.
The Good News: Minimal Damage Done
Despite the massive scale of this attack, the actual financial damage was surprisingly small. According to security analysis, the attackers only managed to steal less than $50 across all targeted blockchains.
Why was the damage so limited?
- Fast Response: The crypto community and security experts responded within hours
- Hardware Wallet Protection: Users with hardware wallets remained safe
- Quick Cleanup: The malicious code was removed from all affected packages within hours
Current Status: All Clear
As of now, the threat has been completely neutralized:
- All malicious code has been removed from the affected packages
- Clean versions have been published and are available
- Security teams have deployed detection systems to prevent similar attacks
- No ongoing risk exists for users of updated websites and apps
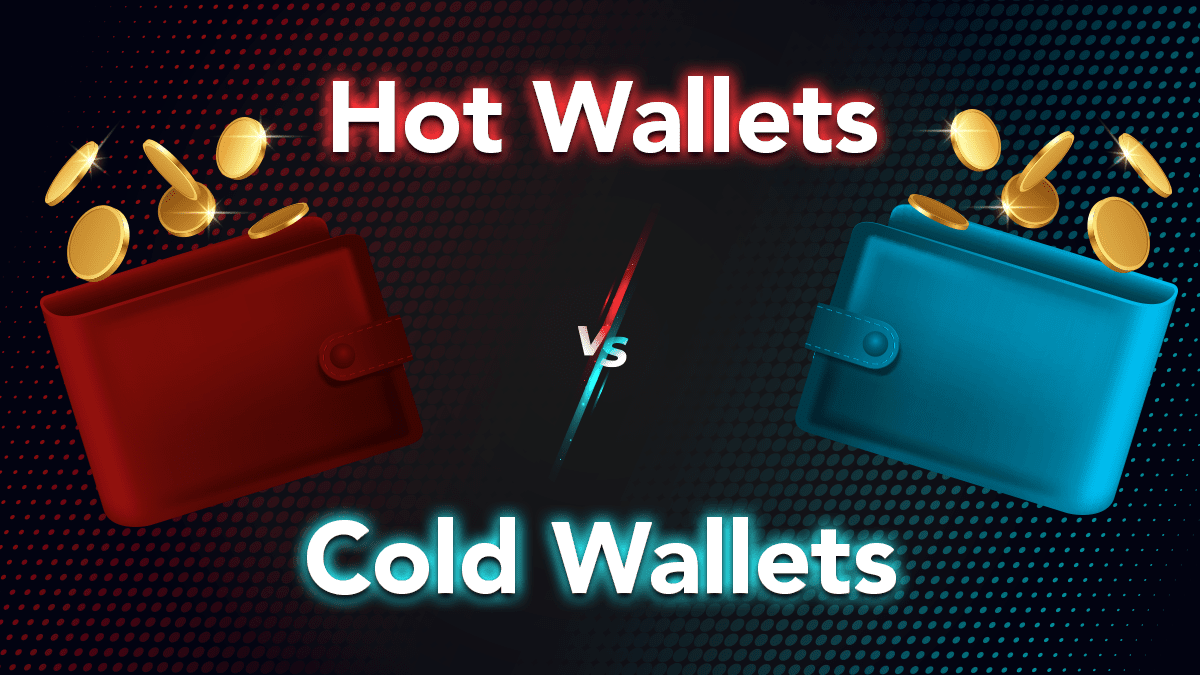
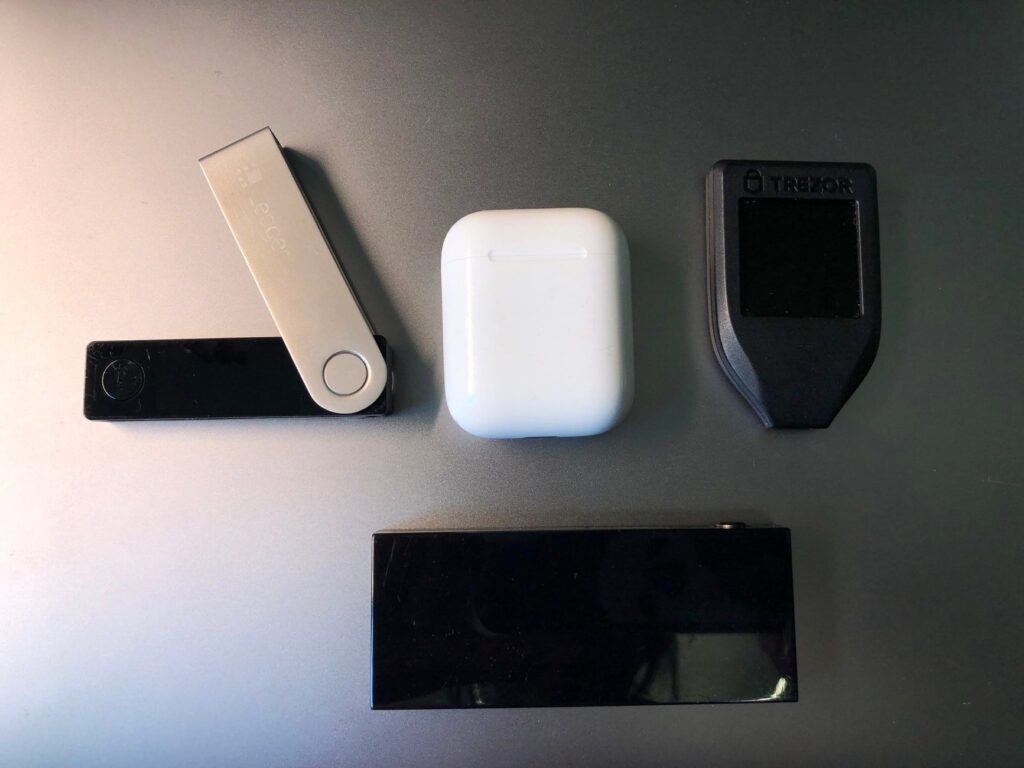
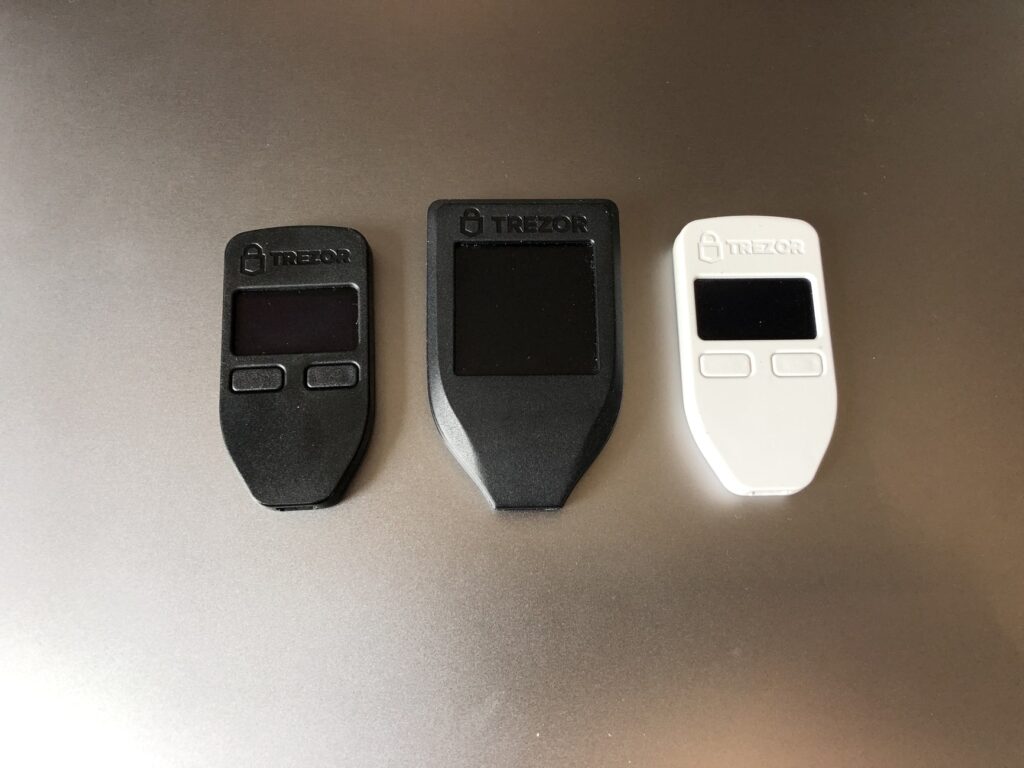
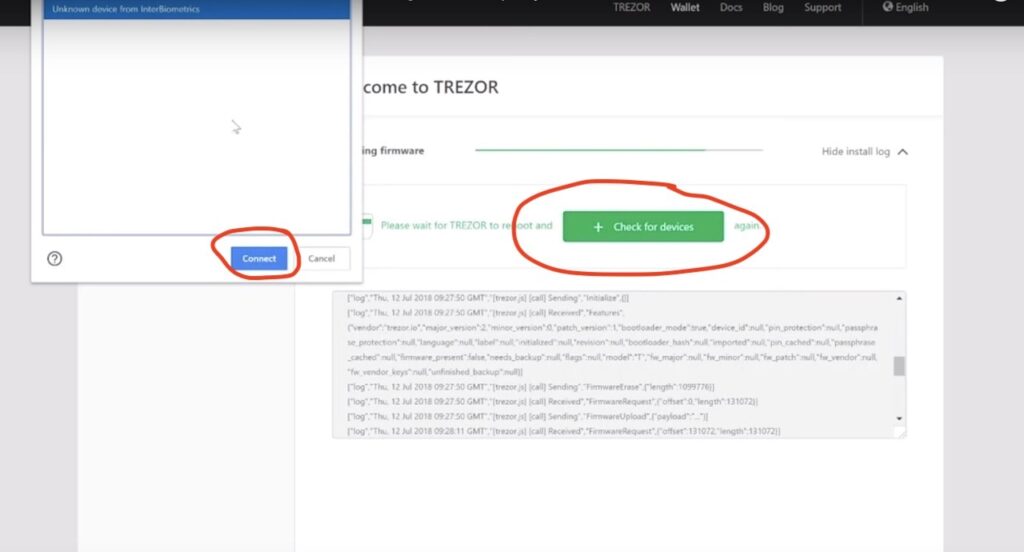
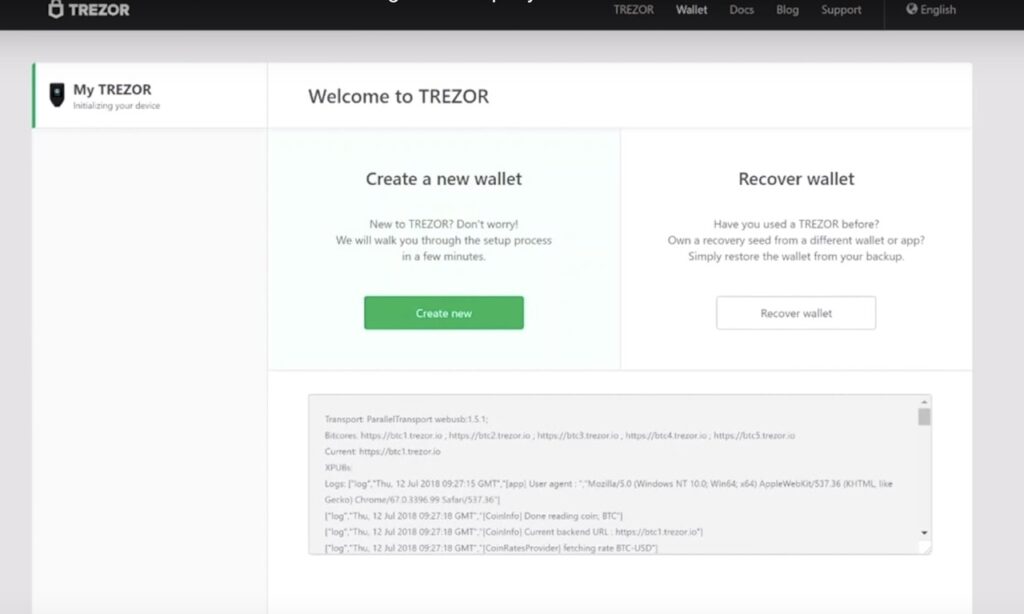
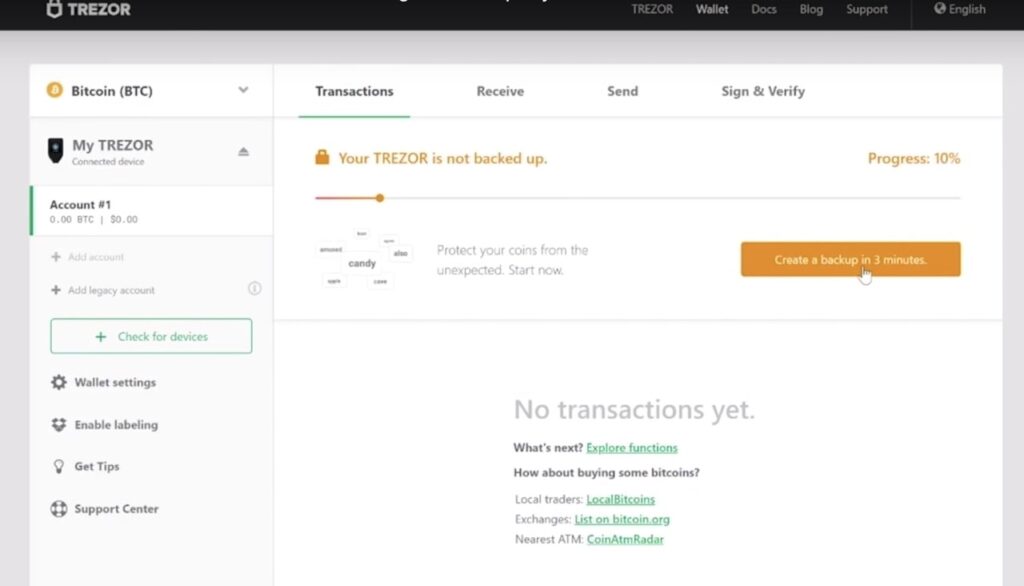
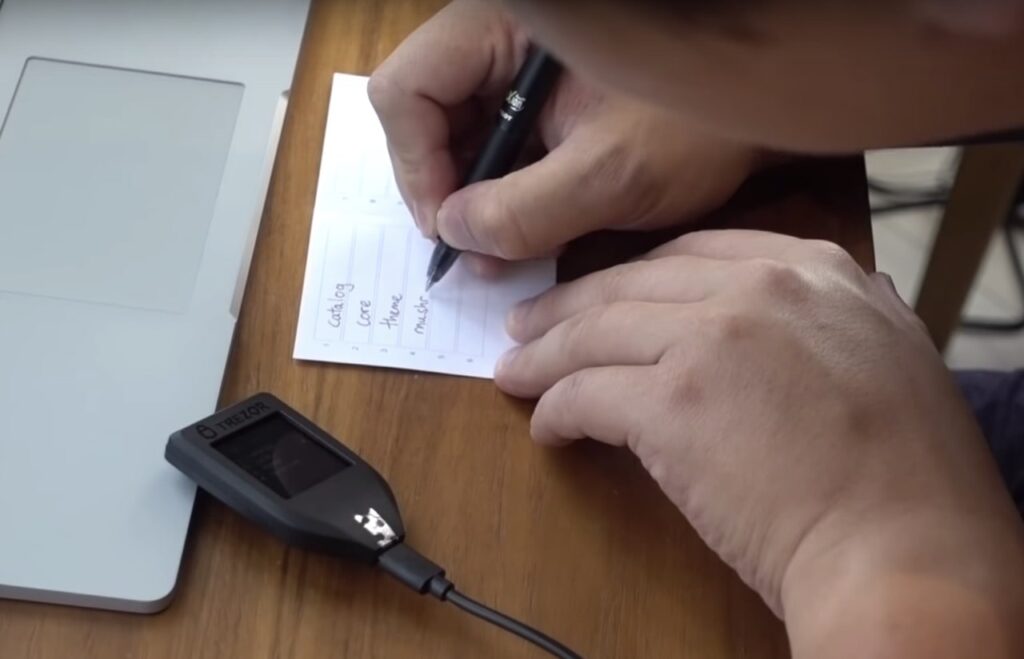
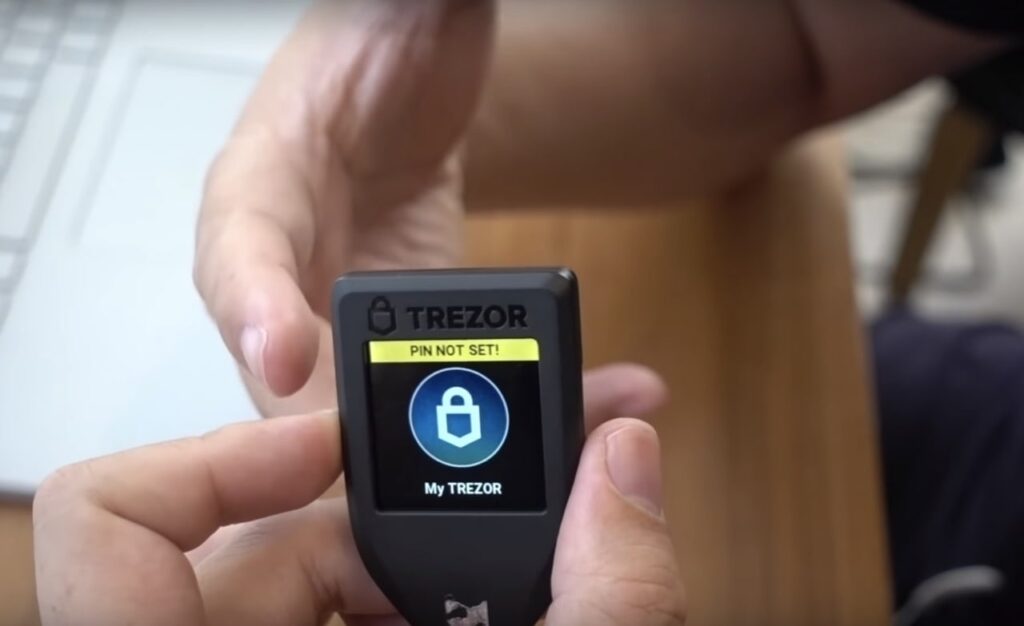
Why Hardware Wallets Are Your Best Defense
This incident perfectly demonstrates why security experts consistently recommend hardware wallets. Here’s why they’re so effective:
What Makes Hardware Wallets Safe
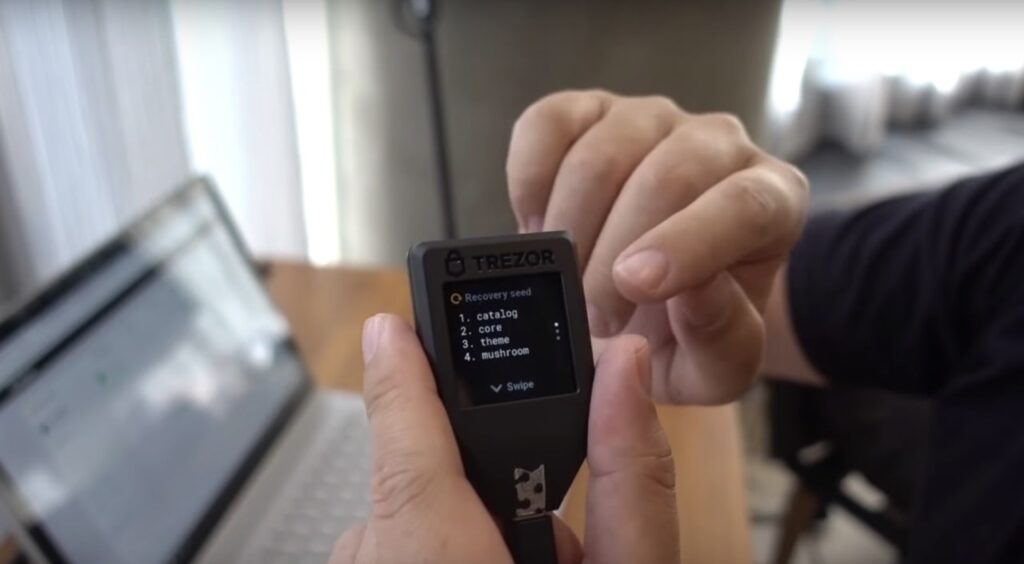
Physical Verification: When you use a hardware wallet like Ledger, Trezor, or similar devices, you can see the exact transaction details on the device’s screen. Even if malware changes what you see on your computer or phone, the hardware wallet shows you the real destination address.
Isolated Security: Your private keys never leave the hardware device, making them immune to software-based attacks like this one.
Clear Signing: As Guillemet noted, “If you use a Ledger or hardware wallet with clear signing, you are not at risk.”
Buy a Ledger here: https://shop.ledger.com/?r=428b
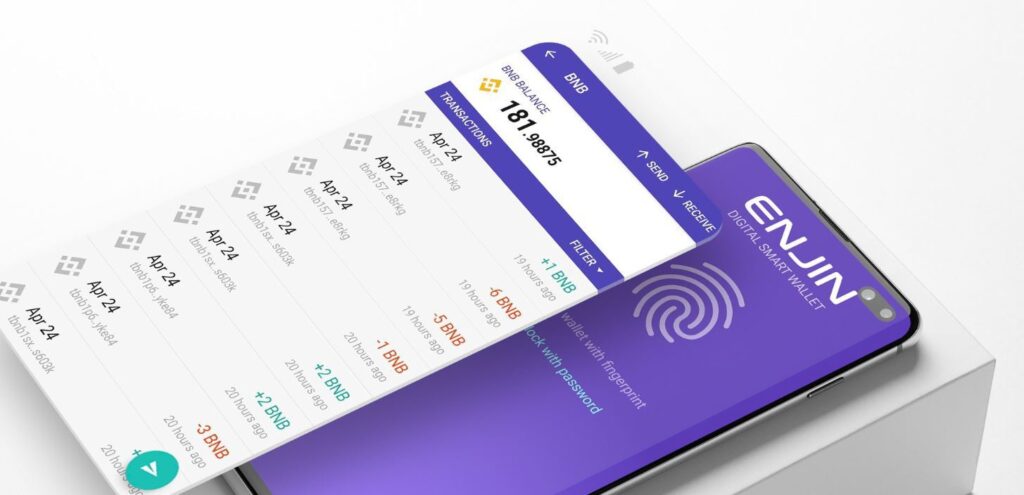
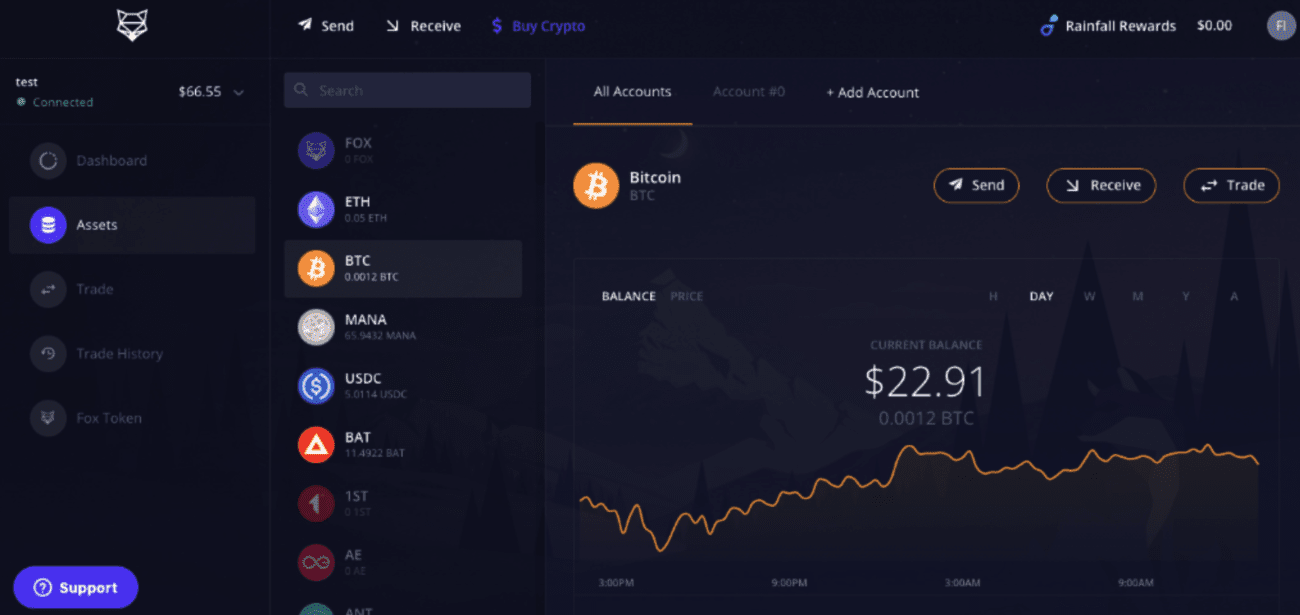
Software Wallet Risks
If you’re using software wallets (apps on your phone or browser extensions), you’re vulnerable to these types of attacks because:
- The wallet software itself could be compromised
- Malware can intercept and modify transaction data before it reaches your wallet
- You’re relying on potentially infected websites or applications
Recommended Action Steps
Immediate Actions (Everyone)
- Be Extra Cautious: If you must make crypto transactions, triple-check every address character by character
- Avoid Unnecessary Transactions: Consider postponing non-urgent crypto activities for a few days
- Update Everything: Ensure all your apps, browsers, and wallet software are updated to the latest versions
Long-Term Security (Highly Recommended)
- Invest in a Hardware Wallet: Prices start around $50-80 for quality devices like Ledger Nano or Trezor
- Learn Proper Verification: Always verify transaction details on the hardware device screen before signing
- Use Reputable Platforms: Stick to well-known exchanges and DeFi platforms with strong security practices
For Developers and Tech-Savvy Users
- Audit your application dependencies for compromised versions
- Use package-lock files and avoid automatic updates for critical applications
- Implement content security policies (CSPs) as additional protection layers
The Bigger Picture: Why This Matters
This attack highlights a fundamental vulnerability in how the internet works today. Most websites and apps rely on thousands of shared code libraries created by volunteers around the world. While this makes development faster and more efficient, it also creates single points of failure that can affect millions of users simultaneously.
Key Takeaways:
- The crypto ecosystem proved remarkably resilient with rapid community response
- Hardware wallets provided complete protection against this sophisticated attack
- Supply chain security remains a critical challenge for the entire tech industry
Final Thoughts
While this attack was successfully contained with minimal damage, it serves as an important reminder that the crypto space faces evolving threats. The best defense is always preparation – and that means using hardware wallets for any significant crypto holdings.
The silver lining? This incident demonstrated that the crypto community can respond quickly and effectively to emerging threats. The combination of vigilant security researchers, rapid community communication, and proper security tools (like hardware wallets) proved to be an effective defense against even sophisticated supply chain attacks.
Bottom Line: If you’re serious about crypto security, a hardware wallet isn’t just recommended – it’s essential. This attack could have been devastating for software wallet users, but hardware wallet users remained completely protected simply by following basic verification practices.
Stay safe, verify everything, and consider this incident a wake-up call to upgrade your security practices.