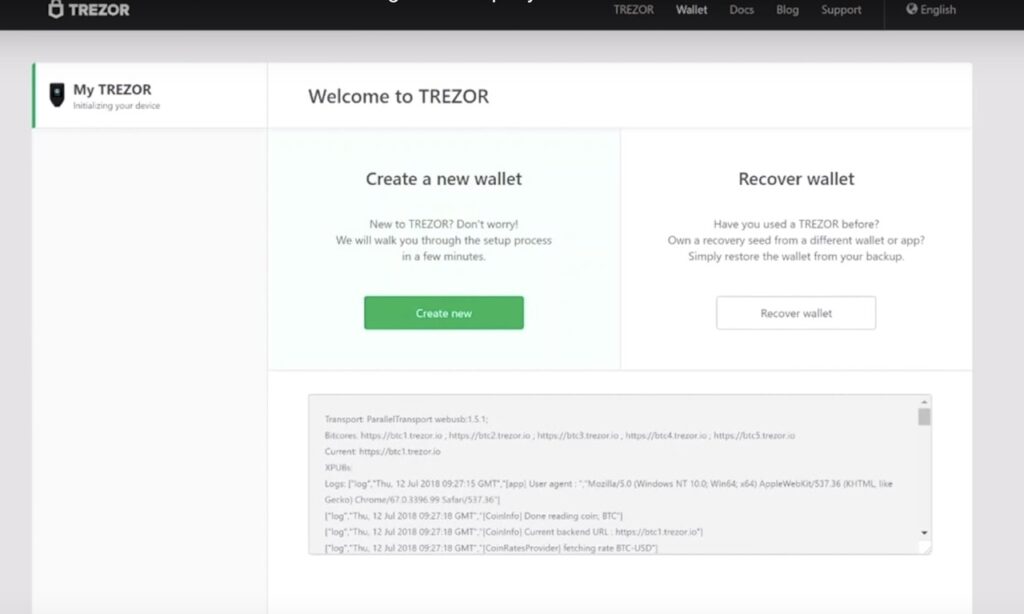
Rainbow ($RNBW) is a cryptocurrency wallet that lets users manage tokens, NFTs, and cross‑chain swaps across Ethereum and Layer 2 networks. The wallet has built a loyal following through its intuitive interface and robust multi-chain capabilities. After months of speculation and community anticipation, the Rainbow Foundation has officially confirmed the RNBW token launch, marking a significant milestone for one of the most popular wallets in the Ethereum ecosystem. This comprehensive guide covers everything you need to know about the Rainbow ($RNBW) token airdrop, from tokenomics and eligibility to claiming procedures and what’s next for the project.
Rainbow ($RNBW) Token Generation Event: Official Timeline Confirmed
The wait is finally over for the Rainbow Wallet community. After the Points system generated significant engagement throughout 2025, the Rainbow Foundation has officially confirmed the RNBW Token Generation Event (TGE) date as February 5, 2026. This announcement was met with overwhelming positivity from the community, who have been tracking their points and anticipating the token launch for well over a year.
The critical deadline for airdrop eligibility was the snapshot date of January 26, 2026, which captured all qualifying point balances at a specific block height. Any activities performed after this date do not count toward the initial airdrop distribution, though the Foundation has hinted at potential future opportunities for continued engagement.
Key Dates Summary:
Snapshot Date: January 26, 2026
TGE Date: February 5, 2026
CCA Uniswap Auction: February 2, 2026
Exchange Listings: Multiple platforms launching with TGE
What is Rainbow ($RNBW)?
Rainbow ($RNBW) is a cryptocurrency wallet designed to be fun, powerful, and user-friendly. It emphasizes security and usability, offering a colorful interface that appeals to both beginners and advanced Web3 users. Over the years, Rainbow has evolved from a simple Ethereum wallet into a comprehensive multi-chain资产管理 platform supporting numerous networks. Here are some of Rainbow’s main features:
-
Multi-wallet management: Import, organize, switch, and reorder multiple wallets with an intuitive interface.
-
Token & NFT support: Manage Ethereum tokens, Layer-2 assets, and NFT collections across chains including Arbitrum, Optimism, Base, and Polygon.
-
Cross-chain swaps & bridges: Built-in swaps with access to DEX liquidity, bridge support, and Flashbots protection against MEV/sandwich attacks.
-
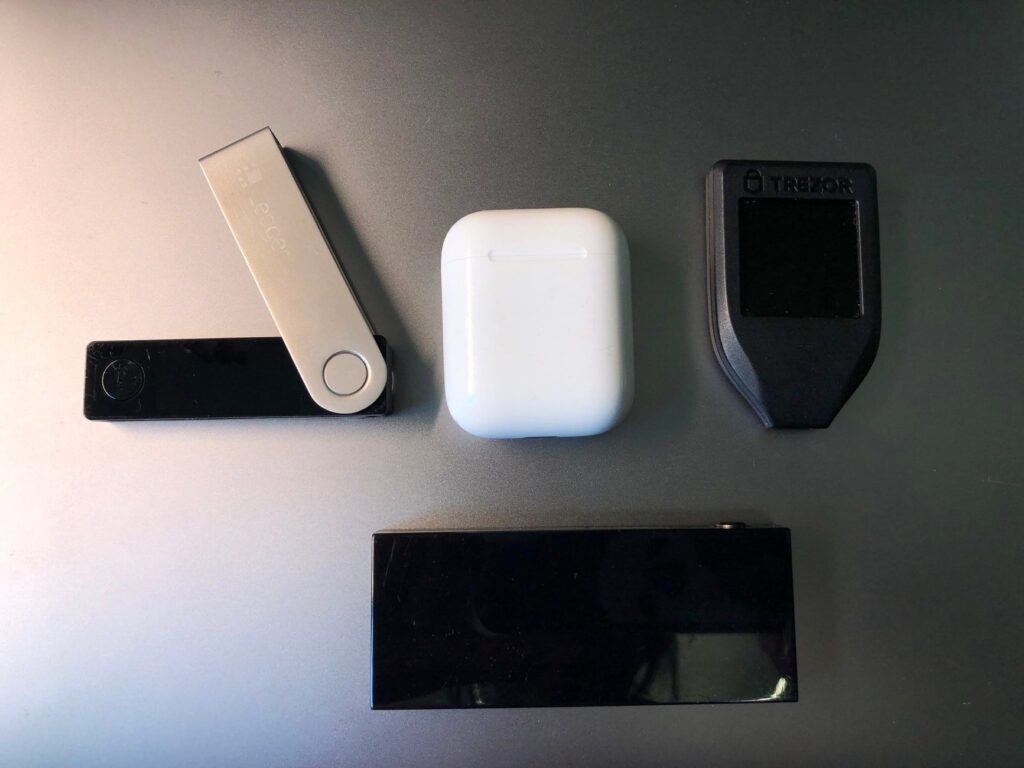
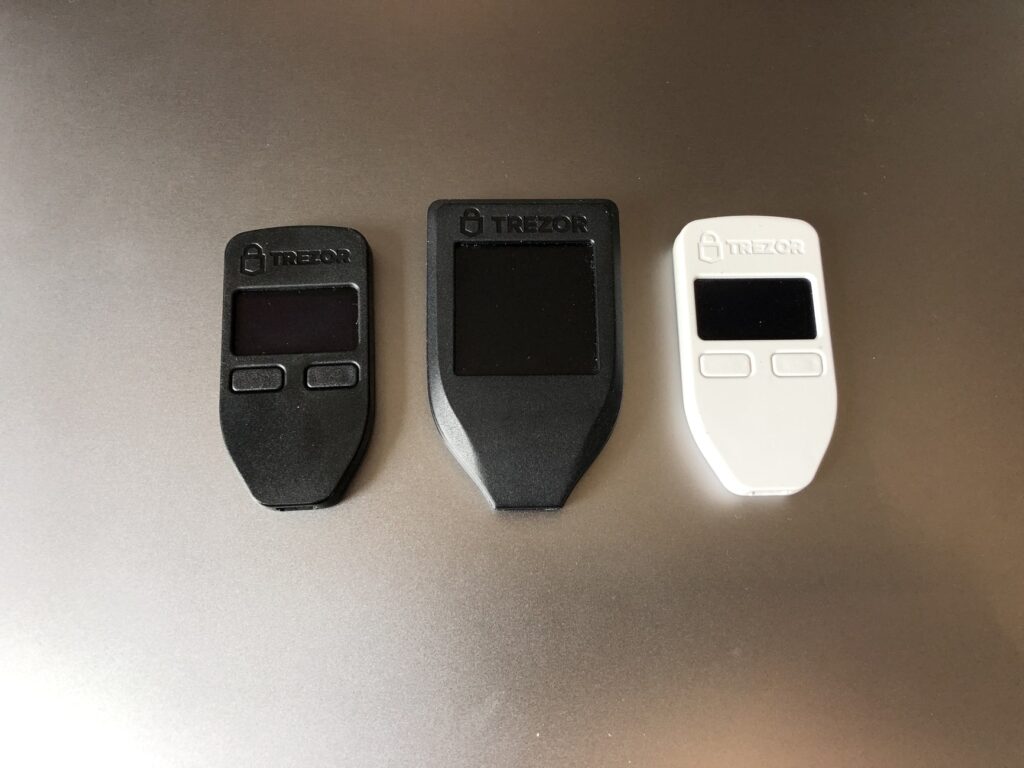
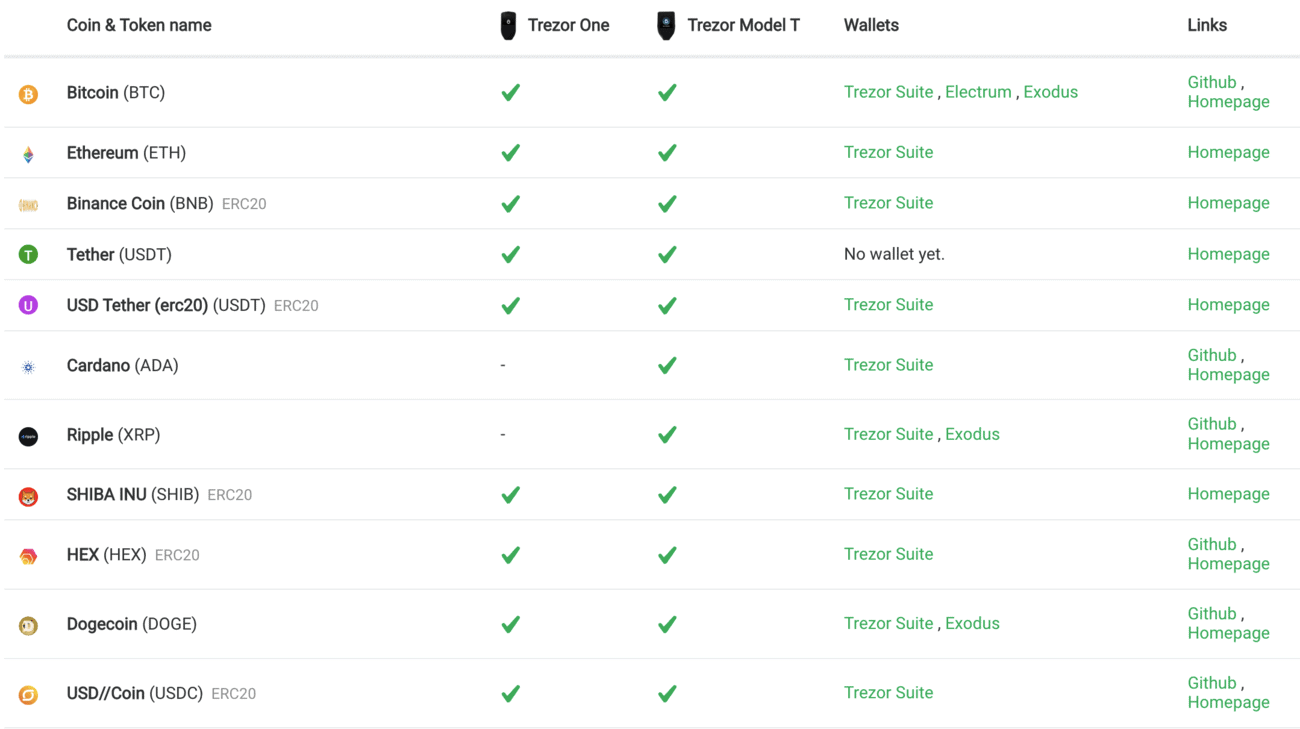
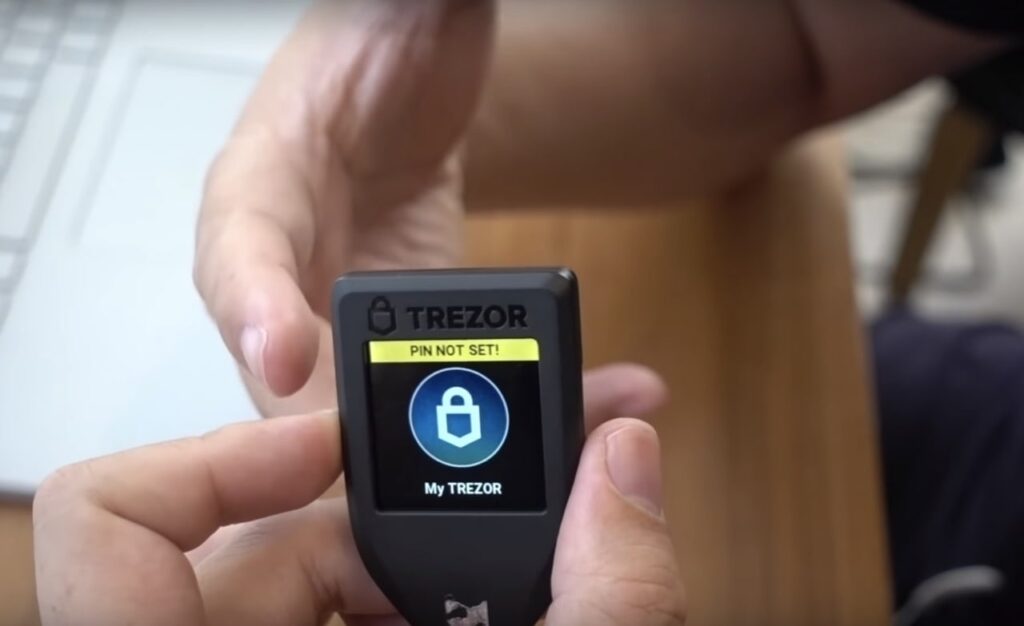
Hardware wallet integration: Works with Ledger and Trezor cryptocurrency hardware wallets for added security and self-custody.
-
Impersonation mode: View any wallet in read-only mode using just an address, useful for portfolio tracking and verification.
-
ENS integration: Easily set up and manage Ethereum Name Service profiles for simplified address handling.
-
Custom RPCs: Add any EVM chain for flexibility and access to emerging networks.
-
Portfolio tracking & alerts: Real-time notifications for transactions, NFT offers, and portfolio changes.
-
Mobile & extension availability: Rainbow is available on iOS, Android, and as downloadable browser extensions for Chrome and Firefox.
The wallet’s emphasis on self-custody and user-controlled private keys has resonated with the cryptocurrency community, particularly as centralized exchange risks have become more apparent in recent years. Rainbow’s combination of accessibility and robust security features has made it a go-to choice for both newcomers to crypto and experienced DeFi users.
RNBW Tokenomics: Total Supply and Distribution
The official Rainbow Foundation announcement has revealed comprehensive tokenomics for the RNBW token, providing transparency that the community has been seeking. The total supply is set at 1 billion RNBW tokens, with a carefully designed distribution structure aimed at sustainable development and long-term alignment between all stakeholders.
The 15% airdrop allocation represents the largest single distribution event in Rainbow’s history, demonstrating the Foundation’s commitment to rewarding early adopters and active community members. This allocation was distributed to qualifying users based on their accumulated points from the Points system, which tracked various activities across the Rainbow ecosystem throughout the qualification period.
RNBW Tokenomics Overview:
Total Supply: 1,000,000,000 RNBW
Airdrop Allocation: 15% (150,000,000 RNBW)
Initial Circulating Supply at TGE: ~20% (includes airdrop, CCA auction, presale)
Insider Unlocks Begin: November 2026
Remaining token allocations include provisions for team compensation, investor returns, ecosystem development, and treasury reserves. These allocations vest over predetermined schedules to ensure long-term alignment between the development team and project success. The Foundation has emphasized that vesting schedules will prevent immediate selling pressure from insider allocations while still providing meaningful incentives for continued development.
Points System and Eligibility Criteria
The Rainbow Points system formed the foundation for airdrop eligibility, tracking user activities across the wallet’s ecosystem. Understanding how points were calculated helps explain the distribution mechanics and provides insight into potential future programs.
Activities That Earned Points
According to official Rainbow Foundation documentation and community announcements, points were awarded for the following categories of activity:
-
Swap Transactions: Users earned points for executing swaps through the Rainbow wallet interface, with larger volumes potentially earning more points.
-
Bridge Transactions: Moving assets between different blockchain networks through Rainbow’s bridge functionality contributed to point totals.
-
NFT Interactions: Purchasing, transferring, or managing NFTs within the wallet ecosystem added to accumulated points.
-
Profile and Social Features: Engaging with profile customization and social aspects of the platform.
-
Cross-chain Activity: Usage across various Layer 2 networks including Arbitrum, Optimism, Base, and Polygon.
The points accumulation mechanism was designed to reward genuine platform usage rather than artificial farming activities. This approach aimed to identify and reward actual engaged users while minimizing the impact of sybil attacks or automated farming attempts that have plagued other airdrop distributions in the cryptocurrency space.
Community Response to Eligibility
Community sentiment analysis reveals predominantly positive reception to the RNBW announcement and distribution mechanics. The 15% airdrop allocation has been generally well-received as a meaningful reward for early adopters, though some discussion emerged regarding point calculation methodology and eligibility thresholds.
Users have been actively sharing their point totals and comparing experiences, creating an information-sharing ecosystem that helped community members understand distribution mechanics. The transparency around the snapshot date allowed users to plan their activities accordingly, though some expressed frustration at learning about the program after the January 26, 2026 cutoff.
How to Claim Your RNBW Airdrop
For users who accumulated points before the January 26, 2026 snapshot date, the claiming process involves several important steps. The Rainbow Foundation has provided guidance on preparing wallets and understanding the claiming procedure.
-
Verify Your Eligibility
Check your accumulated points through the Rainbow Wallet application. The Foundation has stated that users can view their final point balances and eligibility status within the app settings. Make sure the wallet address you’ll be claiming to matches the address that accumulated points.
-
Prepare Your Self-Custody Wallet
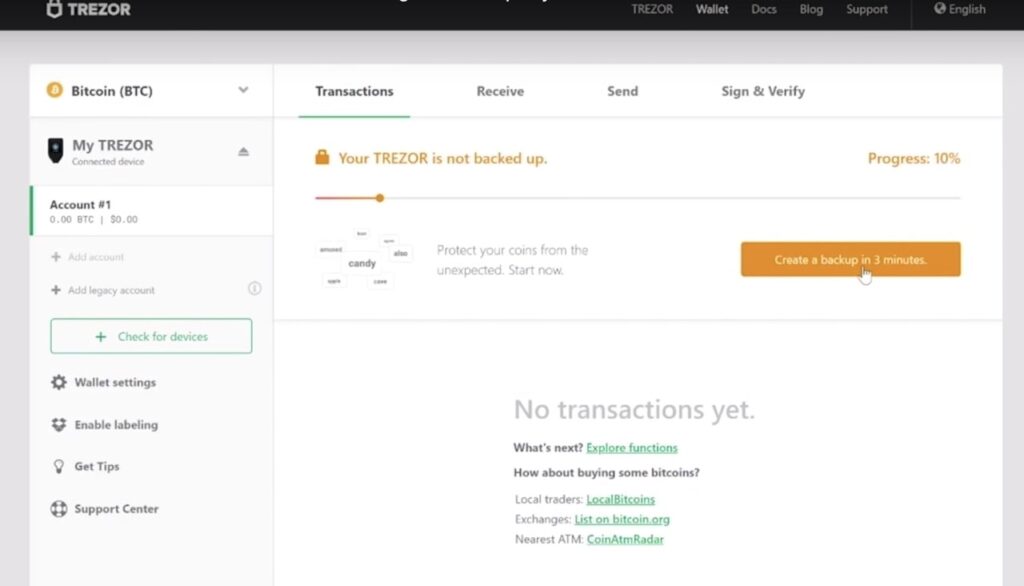
Ensure you have access to the wallet that held your qualifying assets during the snapshot. For maximum security, consider moving assets to a hardware wallet if you haven’t already. The emphasis on self-custody within the Rainbow ecosystem means you’ll need to claim tokens to a wallet where you control the private keys.
-
Wait for Official Claim Instructions
The Foundation will release detailed claiming instructions through official channels. Claims will likely be processed through the Rainbow Wallet application or a dedicated claim portal. Avoid phishing attempts by only following links from verified official sources.
-
Connect and Claim
Following the TGE on February 5, 2026, eligible users will be able to connect their qualifying wallet and claim their RNBW allocation. The claim interface will display your allocation based on the snapshot data.
-
Consider Tax Implications
Token airdrops may have tax consequences depending on your jurisdiction. Consult with a tax professional and ensure you maintain records of your airdrop receipt for reporting purposes.
Important Security Note: Only use official claiming links from the Rainbow Foundation. Phishing attacks targeting airdrop recipients are common in cryptocurrency. Never share your seed phrase or private keys, and verify all URLs through official social media channels.
Exchange Listings and Trading Preparation
Multiple centralized exchanges have announced support for RNBW trading coinciding with the TGE, providing liquidity and accessibility for token recipients. According to exchange announcements and secondary sources, the following platforms have confirmed RNBW listing plans:
-
Bitrue: Established a dedicated news section for Rainbow Token updates and announced comprehensive trading support.
-
MEXC: Published detailed airdrop guides and trading preparation materials for their users.
-
Phemex: Reported on the CCA auction mechanism and established trading infrastructure.
-
Bitget: Created a dedicated news section for Rainbow Token updates, indicating institutional readiness.
The exchange listings provide multiple venues for trading RNBW, though the Rainbow Foundation has emphasized commitment to decentralized liquidity through the Uniswap CCA mechanism.
The CCA (Continuous Collective Auction) Mechanism
One of the most innovative aspects of the RNBW launch is the CCA (Continuous Collective Auction) mechanism launching on Uniswap. According to official communications covered by Phemex and other outlets, the auction will begin on February 2, 2026, three days before the TGE.
The CCA mechanism represents a novel approach to liquidity generation that differs from traditional initial dex offering (IDO) formats. Rather than a simple token listing, the auction mechanism allows price discovery through a collective bidding process while generating liquidity that will be available immediately following TGE.
Auction proceeds are designated to provide on-chain liquidity for RNBW on Uniswap, creating immediate trading depth rather than the thin liquidity that often accompanies new token launches. This approach demonstrates the Rainbow Foundation’s commitment to decentralized market structure and user protection through robust liquidity.
What Makes CCA Different
-
Price Discovery: The auction mechanism facilitates organic price discovery before trading begins.
-
Liquidity Commitment: Auction proceeds are locked as liquidity rather than retained by the protocol.
-
Community Participation: Early participants in the auction contribute to establishing market price.
-
Reduced Slippage: Pre-established liquidity reduces slippage for traders at TGE.
What Comes Next: RNBW Utility and Future Outlook
The RNBW token launch represents not just a distribution event but the beginning of broader token utility within the Rainbow ecosystem. The Foundation has outlined several potential use cases that extend beyond simple speculation or governance functions.
Confirmed and Anticipated Utility
-
Product Development Input: Token holders may have opportunities to participate in decisions regarding future product development priorities.
-
Potential Fee Discounts: Official communications have suggested RNBW holdings might unlock fee discounts for premium features or reduced swap costs.
-
Ecosystem Grants: Developer grants for building on Rainbow infrastructure may be funded through token allocations.
-
Cross-chain Operations: The token may facilitate or reward cross-chain operations as the ecosystem expands.
-
Community Governance: Token holders may eventually participate in governance decisions regarding ecosystem fund allocation and partnership approvals.
Season 2 Possibilities
Community forums and exchange analyses have discussed the potential for a Season 2 airdrop program. While no official announcement has confirmed Season 2 parameters, several platforms’ airdrop guides specifically mention “potential Season 2” as a consideration for users who may have missed eligibility for the initial distribution.
This forward-looking framework suggests the Rainbow Foundation may implement ongoing incentive programs to continue growing the active user base and reward continued platform engagement. Users who were ineligible for Season 1 or who wish to increase their future allocation should maintain active engagement with the Rainbow ecosystem.
Community Sentiment and Market Reception
Analysis of community discussions across Twitter/X, Telegram, and cryptocurrency forums reveals predominantly positive reception to the RNBW announcement and TGE timeline. Several factors have contributed to this positive sentiment.
The combination of clear eligibility criteria, confirmed dates, and extensive exchange preparation has reduced uncertainty that often accompanies major token launches. Users have expressed appreciation for the Foundation’s communication transparency throughout the process, noting that many previous airdrops suffered from unclear timelines and moving goalposts.
The 15% airdrop allocation compares favorably to some previous wallet token launches in the cryptocurrency space, where allocations have sometimes been perceived as stingy or overly concentrated among insiders. The ~20% initial circulating supply aims to balance adequate market liquidity against excessive immediate selling pressure.
Technical discussions have addressed wallet setup requirements for token claims, with community members sharing guides on self-custody best practices. The emphasis on self-custody within the Rainbow ecosystem has resonated with users concerned about centralized exchange risk, reflecting broader trends in cryptocurrency toward user-controlled assets.
Conclusion: The RNBW Airdrop Era Begins
The Rainbow ($RNBW) token airdrop represents one of the most anticipated token launches in the crypto wallet space for early 2026. From its origins as a promising Ethereum wallet to its evolution into a comprehensive multi-chain资产管理 platform, Rainbow has built substantial user trust through consistent development and user-focused design.
The February 5, 2026 TGE marks the beginning of a new chapter for the project, rewarding early adopters with meaningful token allocations while establishing infrastructure for long-term sustainability. The combination of a 15% airdrop, innovative CCA liquidity mechanism, and multiple exchange listings positions RNBW for successful market entry.
For those who qualified based on the January 26, 2026 snapshot, the waiting period is nearly over. For those who missed eligibility, ongoing engagement with the Rainbow ecosystem may position you for future opportunities. Either way, the RNBW launch demonstrates how cryptocurrency projects can meaningfully reward their communities while building sustainable infrastructure for the multi-chain future.
As always in cryptocurrency, conduct your own research, verify all information through official channels, and prioritize security throughout the claiming process. The Rainbow Foundation has laid the groundwork for a successful launch—now the community awaits the next chapter.
“`