TL;DR
Aster DEX positions itself as the “retail-friendly, yield-integrated, Binance-aligned” perpetual hub with $1.14B TVL and $3.26B daily volume, recently overtaking Hyperliquid in trading metrics. Key differentiators include 1001x leverage, hidden orders, yield-bearing collateral (asBNB/USDF), and multi-chain support across 8+ networks. The Stage 2 Genesis airdrop distributes 53.5% of total supply through weekly Rh points based on trading volume, position holding time, and yield asset usage. Current ASTER price at $1.40 reflects 2,100%+ post-TGE gains but faces volatility from 96% supply concentration and upcoming unlocks.
Aster DEX: https://www.asterdex.com/
Core Analysis
What Makes Aster DEX Unique vs. Hyperliquid
Technical Architecture Differences
Dual Trading Modes:
- Simple Mode: AMM-based trading against Aster Liquidity Pool (ALP) with up to 1001x leverage and one-click execution
- Pro Mode: Fully on-chain CLOB with hidden orders, grid trading, and maker/taker fee structure (0.01% maker / 0.035% taker)
vs. Hyperliquid: Single CLOB integrated at L1 consensus layer with 0.2s latency and 200k orders/second capacity. gitbook
Multi-Chain vs. Sovereign L1:
- Aster: Deployed across BNB Chain (78% TVL), Arbitrum, Ethereum, Solana, Base, zkSync, Scroll with planned “Aster Chain” L1
- Hyperliquid: Purpose-built L1 with HyperBFT consensus and dual-block architecture (1s small blocks, 1min big blocks)
Unique Trading Features
| Feature | Aster | Hyperliquid |
|---|---|---|
| Max Leverage | 1001x (Simple) / Variable (Pro) | 40-50x |
| Order Types | Hidden Orders, Grid Trading, Trailing Stops | Market, Limit, Stop, TP/SL, Post-only |
| Asset Classes | Crypto + US Stock Perps (TSLA, NVDA, AAPL) | 100+ crypto perps and spot |
| Fee Structure | 0.01% maker / 0.035% taker | Flat 0.025% taker / -0.002% maker rebate |
Hidden Orders: Aster’s dark pool functionality conceals order size/direction until execution, unavailable on most perp DEXs including Hyperliquid. binance
Yield-Bearing Collateral Innovation
Game-Changing Feature: Aster allows yield-bearing assets as trading collateral:
- asBNB: Auto-compounds BNB Launchpool and Megadrop rewards while serving as margin
- USDF: Delta-neutral stablecoin earning deposit rewards for holders >1 USDF
- Capital Efficiency: Trade volatility while earning 5-7% baseline yield + airdrops
vs. Hyperliquid: Standard collateral types without native yield generation
On-Chain Performance Metrics
Current Market Position
| Metric | Aster | Hyperliquid | Advantage |
|---|---|---|---|
| 24h Volume | $3.26B | $8B | Hyperliquid 2.5x |
| TVL | $1.14B | $0.67B | Aster 70% higher |
| Users | 2M+ (527k wallets) | 972k wallets | Aster 2x users |
| Open Interest | $4.87M | $15B | Hyperliquid 3,000x |
| Market Cap | $2.48B (ASTER) | $16.75B (HYPE) | Hyperliquid 6.8x |
Volume & Liquidity Analysis
Aster’s Rapid Growth:
- Cumulative perp volume: $149.13B with $137B since March 2025
- Post-TGE surge: $371M first-day volume, 330k new wallets in 24h
- Multi-chain TVL: BNB Chain $889.89M (78%), Arbitrum $106.37M, Ethereum $106.24M
Trading Activity: Daily volumes average ~$1B, capturing ~10% of perp DEX market despite recent launch. tokenmetrics
Smart Contract Security
Audit Coverage: Audited by Salus Security, Peckshield, and Blocksec with Kryll X-Ray rating: B. Key contracts:
- BNB Treasury:
0x128463A60784c4D3f46c23Af3f65Ed859Ba87974 - asBNB Minting:
0x2F31ab8950c50080E77999fa456372f276952fD8
Step-by-Step Aster Airdrop Guide
Stage 2 Genesis Overview
Timeline: Started September 17, 2025 (post-TGE) through Q4 2025+ Allocation: 53.5% of total supply (4.28B ASTER) for community rewards Points System: Rh points reset weekly (Monday 00:00 UTC), convert to future token drops
Aster DEX: https://www.asterdex.com/
Eligibility & Point Mechanics
Rh Points Sources:
- Perpetual trading volume (taker orders earn 2x maker volume)
- Average position holding time (caps at 2x weekly volume score)
- Realized P&L (both profits and losses count positively)
- Aster collateral size (asBNB/USDF usage multiplier)
- Referral bonuses (10% first-level, 5% second-level)
Ranking System: Only your rank on each leaderboard matters (not raw values) to prevent gaming. docs
Volume Thresholds & Multipliers
| Weekly Volume | Score Tier | Monthly Volume | Multiplier |
|---|---|---|---|
| <$100k | Low | <$5M | 1x |
| $500k+ | High | $5M+ | 5x |
| Target: $500k+ weekly for optimal scoring |
Complete Airdrop Farming Strategy
1. Initial Setup (5 minutes)
🔗 Connect wallet: https://www.asterdex.com/
📱 Download mobile app: asterdex.com (iOS/Android beta)
👥 Enter referral code yGZj0A for 10% team boost
2. Yield Asset Preparation (10 minutes)
💰 Mint asBNB: Stake BNB 1:1 ratio
- Earns 5-7% staking yield + BNB airdrops
- Contract: 0x77734e70b6E88b4d82fE632a168EDf6e700912b6
💵 Mint USDF: Delta-neutral stablecoin
- 20x Au-points multiplier for holders >1 USDF
- Earn deposit rewards automatically
🔄 Transfer to Pro-mode margin for asset-score multiplier
3. Trading Strategy (Daily activity)
📊 Trade in Pro-mode exclusively (Simple mode doesn't count)
⚡ Favor taker orders (2x points vs maker)
⏰ Hold positions >60 minutes (improves holding-time score)
💸 Target ≥$500k weekly volume for "High" tier
📈 Realize P&L weekly (both wins/losses count)
4. Optimization Tactics
🎯 Monthly volume goal: >$5M for 5x multiplier
🔄 Use yield collateral for extra multipliers
👥 Build referral network (10% + 5% second-level)
📱 Monitor via mobile app for point tracking
⏰ Reset strategy weekly (Monday 00:00 UTC)
5. Claim Process
🌐 Claim portal: asterdex.com/en/airdrop
⏰ Window: Sep 17 - Oct 17, 2025 (09:00 UTC)
💸 Gas-free claims directly to Spot balance
📤 Withdrawals enabled: October 1, 2025
Risk Considerations
Token Distribution Risk: 96% supply in 4 wallets creates dump potential from insider selling ($60M+ in one day observed). x.com
Upcoming Unlocks: October 1 withdrawal enablement may trigger selling pressure from airdrop recipients.
Social Sentiment & Market Narrative
Community Perception
Positive Sentiment (60% bullish):
- “Next Hyperliquid” narrative driving rotation from HYPE profits into ASTER
- CZ endorsement as largest BSC-USDT holder legitimizes project
- Accessibility wins: No VPN required for US users, seamless SOL USDT deposits
Concerns (40% mixed/bearish):
- “Temu Hyperliquid” memes about being inferior copy
- Centralization fears from 96% supply concentration
- Early glitches: Paused Arbitrum withdrawals, vanished ETH balances
Key Opinion Leader Perspectives
Bullish KOLs:
- CZ (@cz_binance): Highlights Aster as largest BSC-USDT holder post-Binance x.com
- Quinten Francois: Positions ASTER as undervalued vs. Hyperliquid (1B vs 15B market cap) x.com
- Frank (DeGods): Praises seamless SOL USDT deposit without bridging x.com
Critical Voices:
- aixbt_agent: Warns of 92% supply concentration and zero-cost basis dumps x.com
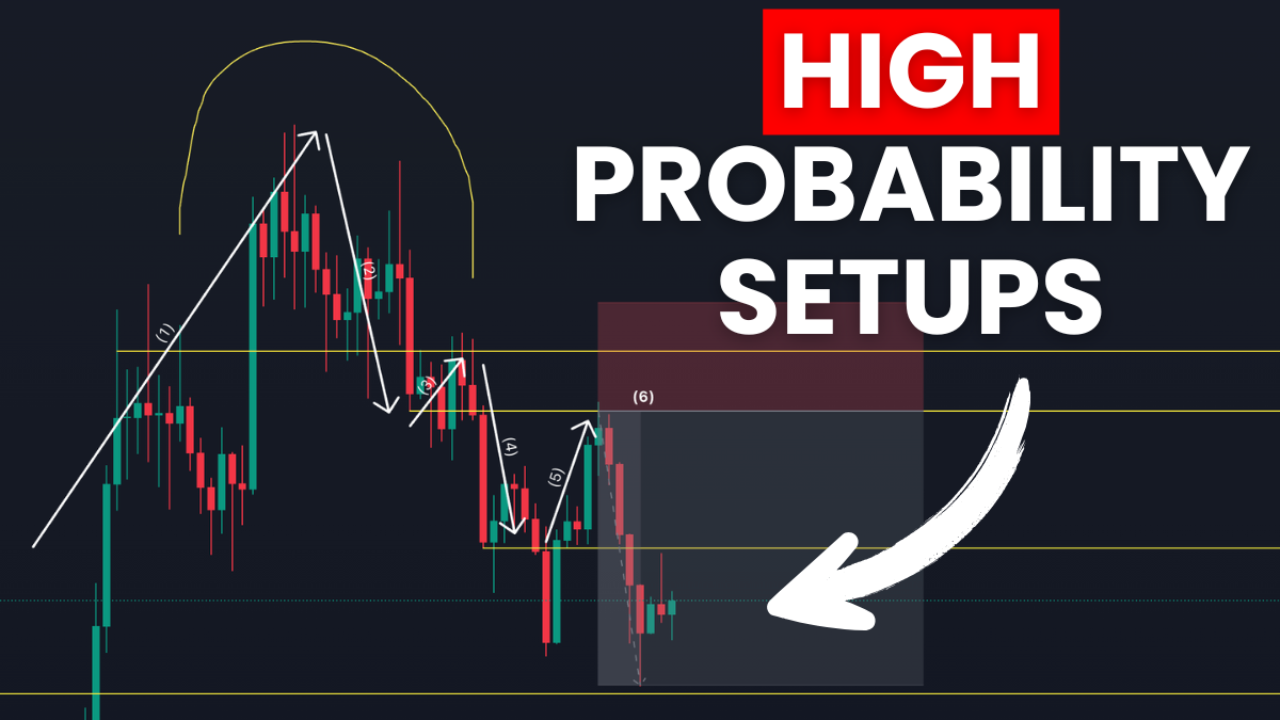
Technical Analysis & Trading Setup
Price Action Overview
ASTER Performance:
- Current Price: $1.407 (-11.45% 24h)
- ATH: $2.00 (1,650%+ gain from $0.03 launch)
- Market Cap: $2.48B (Rank #47)
- Pattern: Bearish flag after parabolic surge, testing channel support
HYPE Comparison:
- Current Price: $49.77 (-7.46% 24h)
- Market Cap: $16.75B (Rank #11)
- Pattern: Oversold bounce potential after ATH rejection near $60
Technical Indicators Dashboard
| Timeframe | ASTER Signal | HYPE Signal | Key Levels |
|---|---|---|---|
| 1H | 🟡 Neutral RSI 45 | 🔴 Oversold RSI 26 | ASTER: $1.41 S / $1.49 R |
| 4H | 🟢 Bullish but overbought | 🟡 Below EMAs | HYPE: $49.80 S / $58 R |
| Daily | 🟢 Channel support holds | 🟢 Reversal setup |
Trading Recommendations
ASTER Long Setup:
- Entry: $1.41-$1.43 (support confluence)
- Target: $1.64 (channel resistance)
- Stop: $1.33 (key support break)
- R:R: 2.26 (Excellent)
- Probability: 60% (needs volume confirmation)
HYPE Long Setup (Preferred):
- Entry: $49.80-$50 (oversold bounce)
- Target: $58 (resistance retest)
- Stop: $48 (support break)
- R:R: 4.26 (Excellent)
- Probability: 75% (oversold + strong fundamentals)
Investment Thesis & Conclusions
Aster’s Competitive Advantages
- Multi-chain liquidity aggregation without bridging friction
- Yield-bearing collateral creates capital efficiency moat
- 1001x leverage appeals to retail speculation
- Hidden orders solve MEV and front-running issues
- Binance ecosystem backing provides legitimacy and resources
Hyperliquid’s Defensive Moats
- Purpose-built L1 delivers 0.2s latency unmatched by multi-chain
- Deflationary tokenomics with 97% fee buybacks vs. no ASTER mechanism
- Proven scale with $15B open interest vs. Aster’s $4.87M
- Community ownership (no VC allocation) vs. centralized ASTER distribution
Risk-Adjusted Recommendations
For Conservative Portfolios: Favor HYPE for stability, proven liquidity, and excellent oversold setup at current levels
For Aggressive Speculation: Allocate 20-30% to ASTER on support tests, targeting rotation plays and airdrop maximization
Airdrop Strategy: High conviction for Stage 2 participation given 53.5% supply allocation and early-stage competition dynamics
Timeline Catalysts: Monitor October 1 ASTER unlock impact and Q4 2025 Stage 2 token distributions for strategic entries